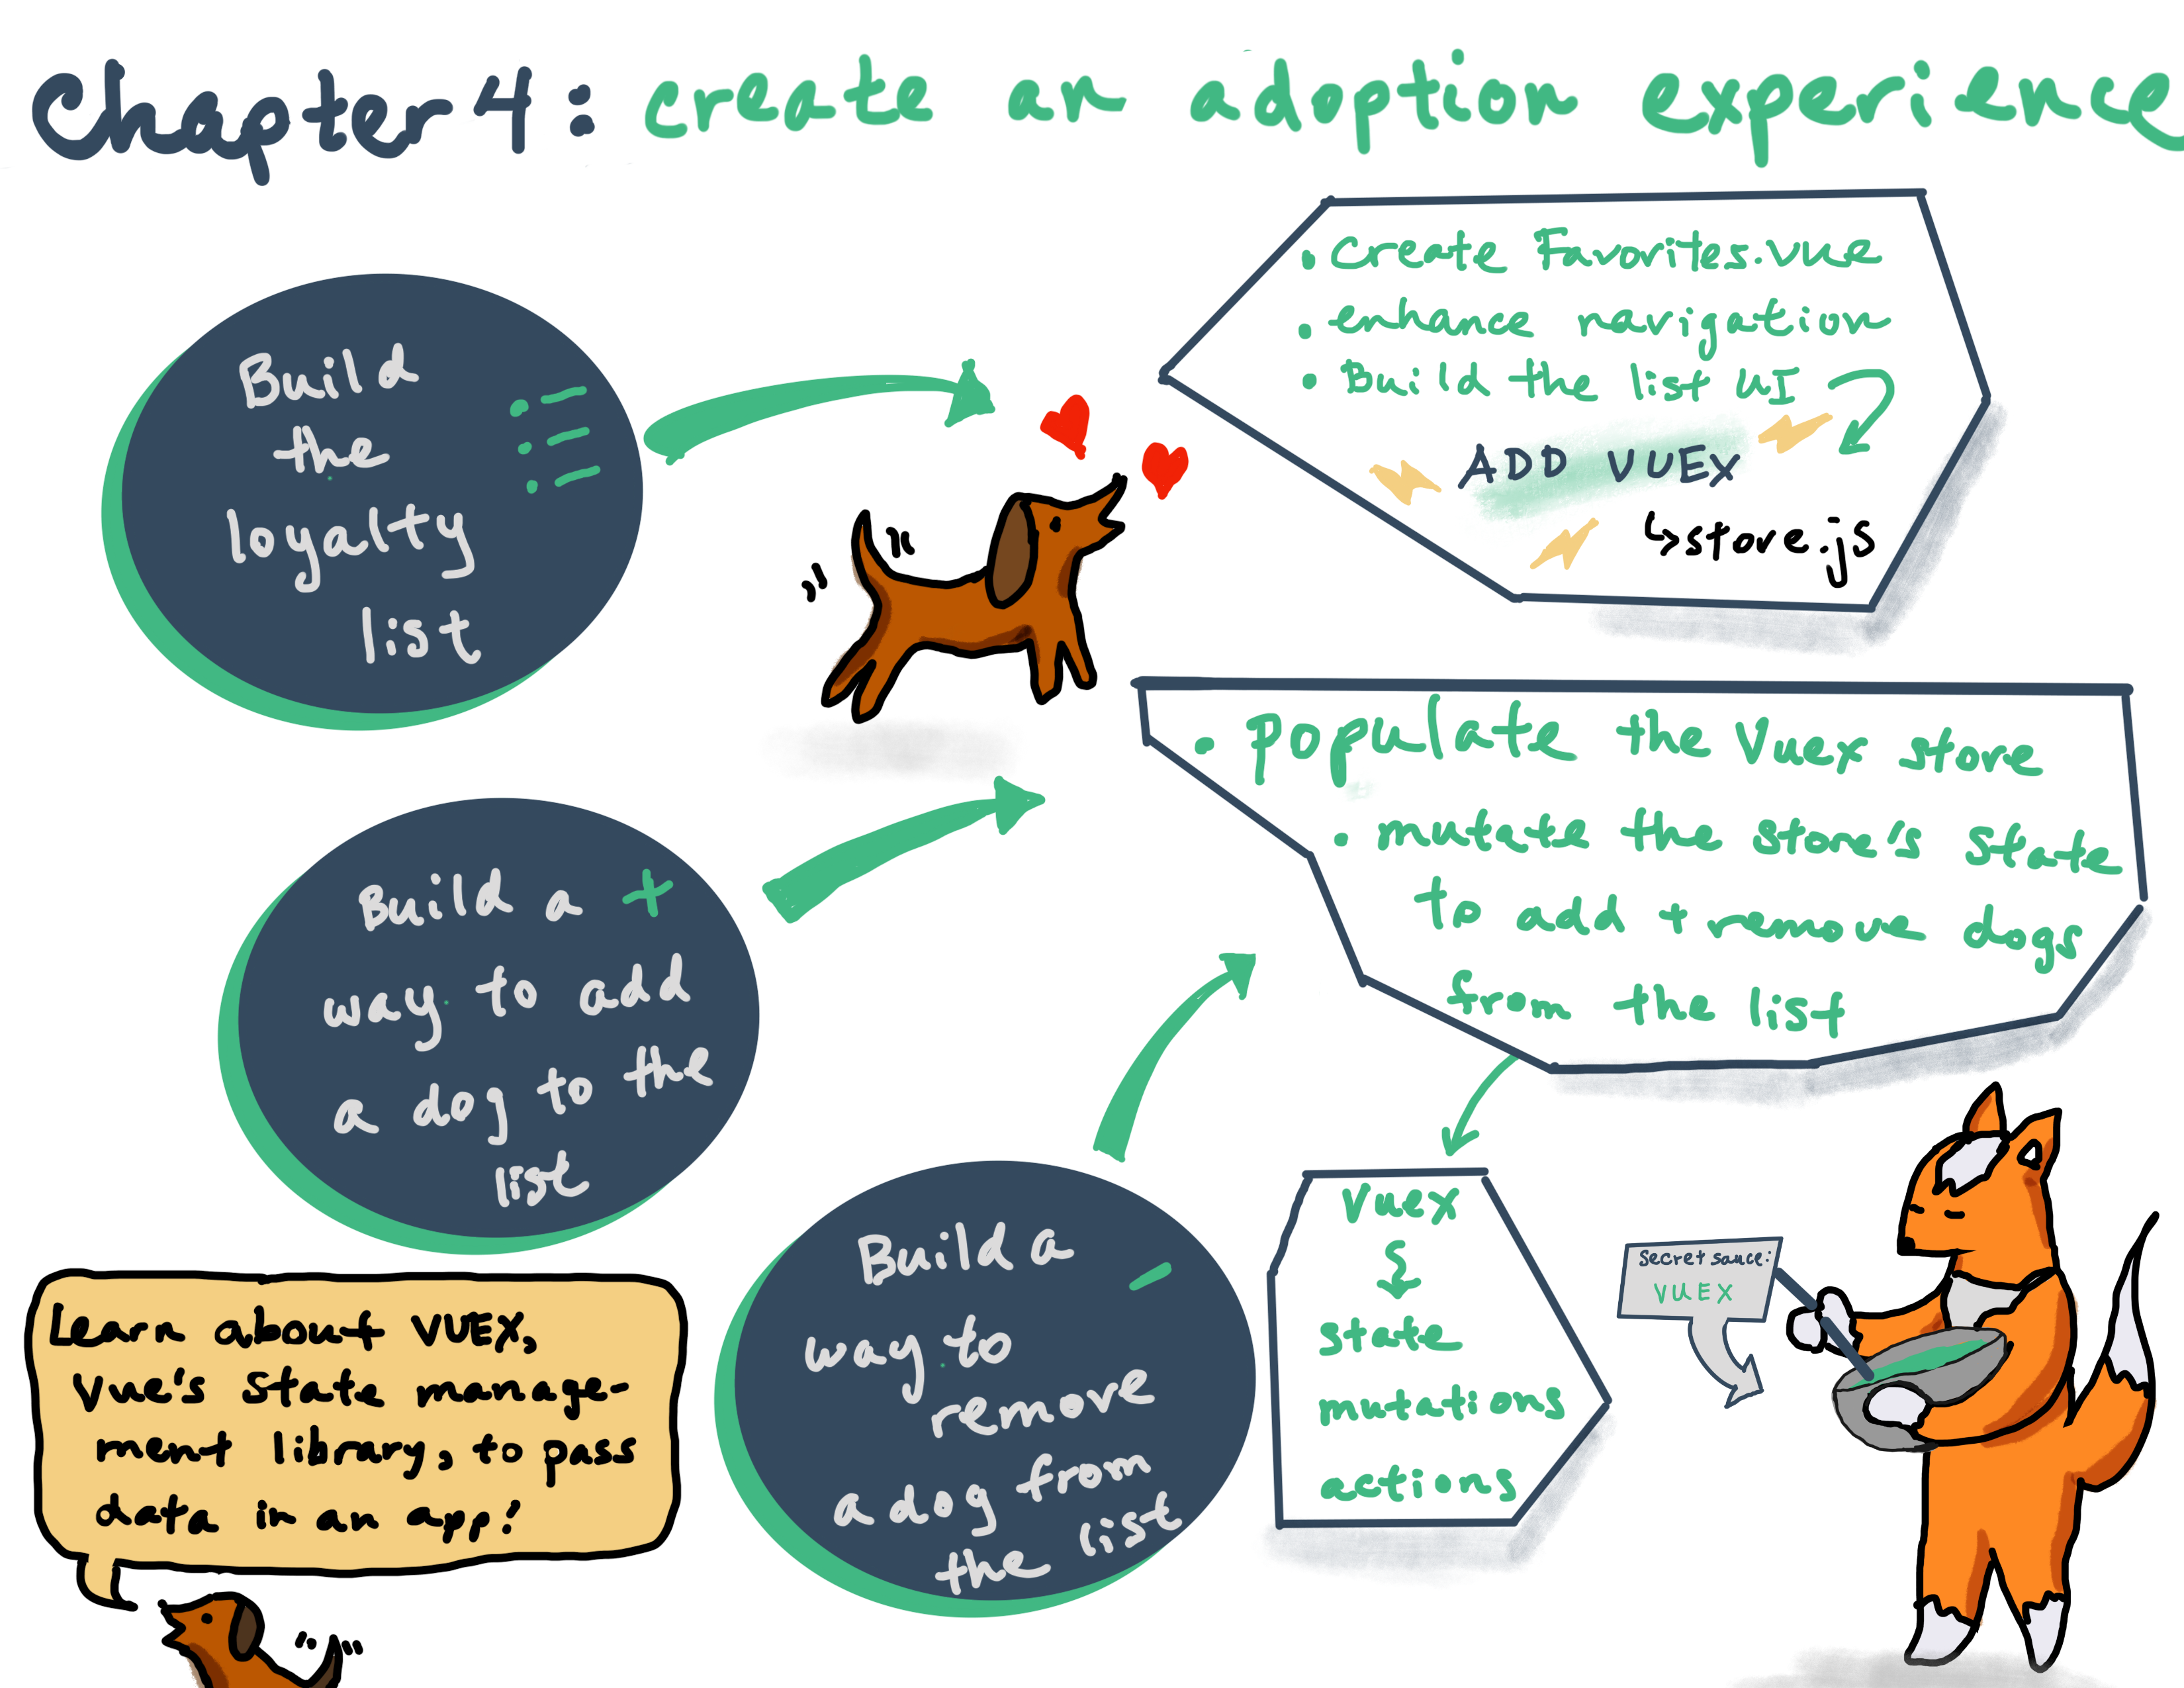
📋 Chapter 4: Create a Dog Adoption Experience
| Project Goal | Create a tagging system for the shop so that you can add and remove a dog from your 'loyalty' list |
|---|---|
| What you’ll learn | State management in Vue application with Vuex |
| Tools you’ll need | A modern browser like Chrome. An account in CodeSandbox.io. If you get lost, import the starting point for this chapter here. Instructions on how to do this are in Appendix 1 |
| Time needed to complete | 1.5 hours |
What You'll Build
Instructions
If you need to restart your project, clone this repo into Code Sandbox by clicking on the Import from GitHub link on the bottom left of the main page, and then pasting the repo's url into the fields. You can also continue with the project you've created in chapter 3.
In this chapter, we will build a 'loyalty list' - like a shopping cart but for adoptions - to show the list of dogs that we particularly like and would like to adopt. To get started, create a new, blank file in the views folder and name it Favorites.vue.
Build the Loyalty List
The first thing we need in this new component is a template. Inside this new file add a <template></template> tags.
Inside template tags create a <div></div> tag and add a simple text 'My Favorites'.
<template>
	<div>
		My Favorites
	</div>
</template>
2
3
4
5
Now let's connect our newly created component with the router and check if it's displaying correctly on its corresponding route.
Go to the main.js file. On the top, after importing Home and Pets components, add one more import statement:
import Favorites from './views/Favorites';
After that, add one more route to the routes:
{ path: "/favorites", component: Favorites }
In the browser address bar try to navigate to /favorites (simply add /favorites to the URL of the homepage). You should see the text 'My Favorites' between the header and the footer.
Let's add a link to our list inside the navbar. Later we will also show the selected items amount on it, but for now it will be just a plain icon with link. Go to the App.vue file and add the following code inside v-toolbar right after the closing tag of v-toolbar-items:
<v-spacer></v-spacer>
<router-link to="/favorites">
	<v-icon large>loyalty</v-icon>
</router-link>
2
3
4
💡
v-spacer is a Vuetify component to fill the whole free space between other components. v-icon is a component displaying Material icons.
Now when you're clicking on the favorites icon you will be navigated to /favorites route.
Let's create markup for the Favorites component. We will use Vuetify's list component to display our dogs. Let's remove our placeholder text from the <div></div> tag and replace it with <v-list></v-list tag. Now the template looks like this:
<div>
	<v-list> </v-list>
</div>
2
3
We need a name for this list. Vuetify is using a v-subheader component for this purpose, so let's add one:
<div>
	<v-list>
		<v-subheader>My Favorites</v-subheader>
	</v-list>
</div>
2
3
4
5
Now let's add a list element with mock data: a dog image, its name and a delete icon. We will need a v-list-item component for the list item; v-list-item-avatar for the dog image; v-list-item-content for its name and v-list-item-action plus v-icon for the delete button.
💡
Learn more about lists in the Vuetify list component docs.
Now our template is:
<div>
	<v-list>
		<v-subheader>My Favorites</v-subheader>
		<v-list-item @click="{}">
			<v-list-item-avatar>
				<img src="https://images.dog.ceo/breeds/husky/n02110185_7888.jpg" />
			</v-list-item-avatar>
			<v-list-item-content>Fluffy</v-list-item-content>
			<v-list-item-action>
				<v-icon>delete</v-icon>
			</v-list-item-action>
		</v-list-item>
	</v-list>
</div>
2
3
4
5
6
7
8
9
10
11
12
13
14
Manage the List's State with Vuex
At this point, you can see the UI coming together. Now it's time to display some real data inside the list, but now we have a problem: how can we save selected dogs and pass them from the Pets component to the Favorites one? We cannot use props, because these two components don't have any 'parent-child' relationship... In such cases we need a state management library and Vue does have one: it's called Vuex.
💡
Vuex is a state management pattern and library for Vue.js applications. It serves as a centralized store for all the components in an application, with rules ensuring that the state can only be mutated in a predictable fashion. It allows you to keep data that can be shared with the components in your application. Learn more here.
To start working with this centralized store we have to add Vuex to our application. First, scroll down in the Explorer tab and open the Dependencies dropdown. Click on Add dependency button and seach for vuex. Install the dependency. Vuex will be added to your package.json.
Now let's create a store folder inside /src. Add a store.js file inside of this new folder. This is where we will save all the application's data.
Open the store.js and import Vuex:
import Vue from 'vue';
import Vuex from 'vuex';

Vue.use(Vuex);
2
3
4
Now let's create and export the actual store:
export default new Vuex.Store({});
What actually do we want to save on our application state? It's a list of favorites, which will contain selected dogs. Let's add a favorites array to our initial state object by adding it between the curly brackets:
export default new Vuex.Store({
	state: {
		favorites: [],
	},
});
2
3
4
5
We then have to add this store to our Vue instance. To do this, move to the main.js file and import it under the rest of the imports:
import store from './store/store';
Then add the store to the Vue instance properties in main.js:
new Vue({
	router,
	store,
	vuetify,
	render: (h) => h(App),
}).$mount('#app');
2
3
4
5
6
Now all the components in the application will have access to our state via this.$store.state placed inside any component's computed property. Let's try to access it from the Favorites component.
💡
Computed properties can be used to do quick calculations of properties that are displayed in the view. These calculations will be cached and will only update when their dependencies are changed.
Inside Favorites.vue add the <script> block under the <template> block with the export default statement:
<script>export default {};</script>
...and add the computed property to the component by editing the <script> block:
<script>
  export default {
    computed: {
      favorites() {
        return this.$store.state.favorites;
      }
    }
  };
</script>
2
3
4
5
6
7
8
9
You can see that favorites() is a function which will return the value of the favorites array stored in state so we can use it in our component.
Populate Favorites
Let's replace our mock data with the favorites content.
First let's temporarily add some content to the state.favorites. Copy the first three dogs from the data/dogs.js file and paste them to the favorites array in store.js:
state: {
  favorites: [
    {
      name: "Max",
      breed: "husky",
      img: "https://images.dog.ceo/breeds/husky/n02110185_1469.jpg"
    },
    {
      name: "Rusty",
      breed: "shiba",
      img: "https://images.dog.ceo/breeds/shiba/shiba-13.jpg"
    },
    {
      name: "Rocco",
      breed: "boxer",
      img: "https://images.dog.ceo/breeds/boxer/n02108089_14112.jpg"
    },
  ]
},
2
3
4
5
6
7
8
9
10
11
12
13
14
15
16
17
18
19
Inside the Favorites.vue component we will iterate through the favorites array with the now-familiar v-for directive. Change the <template> <div> to this markup:
<div>
	<v-list>
		<v-subheader>My Favorites</v-subheader>
		<v-list-item v-for="(dog, index) in favorites" :key="index" @click="{}">
			<v-list-item-avatar>
				<img :src="dog.img" />
			</v-list-item-avatar>
			<v-list-item-content>{{dog.name}}</v-list-item-content>
			<v-list-item-action>
				<v-icon>delete</v-icon>
			</v-list-item-action>
		</v-list-item>
	</v-list>
</div>
2
3
4
5
6
7
8
9
10
11
12
13
14
💡
What changed? Notice that the src attribute changed to :src, because now we are using a dynamic property for it. We have also made sure the name is dynamic by changing Fluffy to dog.name in curly braces.
💡
Note that we have also added :key next to our v-for in the v-list-item opening tag. We did this because Vue wants us to provide a key when using v-for. By using (dog, index) in favorites in our v-for, we also get the index of the array per dog. For Max we get index 0, for Rusty we get index 1 and so on. We can then use this as our key. More background information can be found here.
Now we can see our mock data displaying on the /favorites route! Let's add some more UI tweaks to make the page look better.
UI Tweaks
First, we need to add a placeholder to show when our list is empty.
💡
Note: the v-if directive conditionally renders the element based on the "truthiness" of the expression value - whether it is true or false. v-else directive serves as an 'else' block for v-if, providing an 'else' condition.
We will wrap the whole list content in the wrapper div and show it only when we have items in our list of favorites; otherwise the user will see the placeholder text. Let's change the template:
<template>
	<v-list>
		<v-subheader v-if="!favorites.length">Your favorites list is empty</v-subheader>
		<div v-else>
			<v-subheader>Your favorites</v-subheader>
			<v-list-item v-for="(dog, index) in favorites" :key="index" @click="{}">
				<v-list-item-avatar>
					<img :src="dog.img" />
				</v-list-item-avatar>
				<v-list-item-content>{{dog.name}}</v-list-item-content>
				<v-list-item-action>
					<v-icon>delete</v-icon>
				</v-list-item-action>
			</v-list-item>
		</div>
	</v-list>
</template>
2
3
4
5
6
7
8
9
10
11
12
13
14
15
16
17
💡
What is happening here? First, the application will check if the favorites array has a length (i.e. if there are some items inside this array; an empty array has a length equal to 0). If the length is 0, the application will display Your favorites list is empty text and will ignore the v-else block. If the array is not empty, the application will jump to the v-else block and render it.
Let's also display the number of selected dogs above the tag icon in the toolbar. Move to the App.vue and add a computed property for favorites (similar to the Favorites component one we added earlier). You can place this under the name property:
computed: {
  favorites() {
    return this.$store.state.favorites;
  }
},
2
3
4
5
Now let's wrap our favorites icon with the Vuetify v-badge component and show the number of items inside of it. Edit App.vue where we change the <router-link> block that we have for our favorites with the following markup:
<router-link to="/favorites">
	<v-badge color="grey lighten-1" overlap right v-model="favorites.length">
		<span slot="badge">{{favorites.length}}</span>
		<v-icon large>loyalty</v-icon>
	</v-badge>
</router-link>
2
3
4
5
6
💡
The v-model directive here will define the visibility of the badge. So, if the list is empty, the badge will be hidden. Since there are three items in our mock data, we can see the number 3 inside the badge. This is behavior that is defined in the Vuetify badge component for which the documentation can be found here.
Add and Remove Dogs
We also need to build a way to add dogs to this favorites list and, sadly, to remove them from it. In other words, we have to change our state. The only way to actually change state in a Vuex store is by committing a mutation. Vuex mutations are very similar to events: each mutation has a string type and a handler. The type should denote what the mutation does, you can choose the name. Since we are creating a mutation to add dogs to our favorites, we choose addToFavorites. The handler function is where we perform actual state modifications and it will receive the state as the first argument. Let's create our first mutation. Inside the store.js clear the state favorites array and after the state property, add mutations:
export default new Vuex.Store({
	state: {
		favorites: [],
	},
	mutations: {},
});
2
3
4
5
6
Inside this object create the addToFavorites mutation:
export default new Vuex.Store({
	state: {
		favorites: [],
	},
	mutations: {
		addToFavorites(state, payload) {
			state.favorites.push(payload);
		},
	},
});
2
3
4
5
6
7
8
9
10
This mutation has two parameters: first is the state as said above; the second is the data or payload which we will add to our state.favorites. The addToFavorites mutation will add the payload item to the state.favorites array.
💡
You cannot directly call a mutation handler. To invoke it, you need to call store.commit with its type: store.commit('addToFavorites') and as you will see we will also have to add the payload.
💡
Usually in Vuex mutations are committed with actions. Actions are similar to mutations but they can contain asynchronous operations (like API calls).
Let's register an action to commit our addToFavorites mutation. Add the actions property to the store object and addToFavorites action to this property:
export default new Vuex.Store({
	state: {
		favorites: [],
	},
	mutations: {
		addToFavorites(state, payload) {
			state.favorites.push(payload);
		},
	},
	actions: {
		addToFavorites({ commit }, payload) {
			commit('addToFavorites', payload);
		},
	},
});
2
3
4
5
6
7
8
9
10
11
12
13
14
15
💡
Action handlers receive a context object which exposes the same set of methods/properties on the store instance, so you can call context.commit to commit a mutation. We are using ES6 argument destructuring to use the commit method of context, that's why we don't have context as our first argument but { commit } as our first argument. If we would have context as a first argument, we should call context.commit(...) instead of directly calling commit(...).
💡
payload here is the same data we want to pass from the component to the mutation to change the state.
Build the UI
Let's call our action from inside the Pets.vue component. First we need some kind of a button to add a certain dog to the favorites list. Move to the Dog.vue component and add the button right below the v-card-title closing tag but still within the v-card tag:
<v-btn @click="$emit('addToFavorites', dog)">Add to Favorites</v-btn>
By using $emit, we are sending the message to our parent component (in this case it's Pets.vue) like 'Hi, something is happening here! Please read this message and react to it'.
Our message also contains a second parameter: it's the dog which we're trying to add to our favorites list.
💡
So by calling $emit('addToFavorites', dog) we are sending an event with type addToFavorites and with data the dog that users want to add to the favorites. We have basically created a custom event for which more information can be found here.
Now let's open Pets.vue and add a listener to our emitted event addToFavorites by overwriting the current <app-dog> tag with this snippet:
<app-dog :dog="pet" @addToFavorites=""></app-dog>
For now this listener is doing nothing but we want to call an action on this event. To do so we have to map the actions to our component.
💡
You can dispatch actions in components with this.$store.dispatch('xxx'), or use the mapActions helper which maps component methods to store.dispatch calls.
We will use the second solution. First import the mapActions helper in Pets.vue:
import { mapActions } from 'vuex';
Then, add it to the component by creating a methods block, using the ES6 spread operator:
methods: {
  ...mapActions(["addToFavorites"])
},
2
3
💡
By calling mapActions with one parameter, we are defining which actions from our store we want to retrieve. For now we only have addToFavorites in this array but in the future we can add more actions as our store grows. You don't always need all actions from your store in one single component. So by passing on this array to mapActions we make sure we only get what we need in thhis component. More information can be found here.
Now we can dispatch addToFavorites like a simple component method.
Let's call this method on the app-dog addToFavorites event. Edit the <app-dog tag in Pets.vue:
<app-dog :dog="pet" @addToFavorites="addToFavorites"></app-dog>
Try to click on Add to Favorites buttons. You can see how the icon badge number increases, open the favorites list by clicking on this icon and check how many dogs we have there.
Enhance the Logic
For now we can add any dog multiple times but we don't have five Maxes! Let's check our payload inside the store.js mutation and add the dog only if it's not in the list already:
addToFavorites(state, payload) {
  if (!state.favorites.includes(payload)) {
      state.favorites.push(payload);
    }
},
2
3
4
5
Here we're first checking if the payload element is included in state.favorites. We are adding the element only if it's not already in the array.
Remove from List
Now we need a mechanism to remove dogs from the favorites list. Maybe they were adopted by someone else! Let's create an action and a mutation for this.
In the store.js add the removeFromFavorites mutation to mutations object:
removeFromFavorites(state, payload) {
  state.favorites.splice(state.favorites.indexOf(payload), 1);
}
2
3
💡
Here the splice() method changes the contents of an array by removing existing elements. The first argument is the index of the element we want to start with and the second argument is the number of elements we want to remove.
So first we're finding the index of the payload item inside the state.favorites array and removing the one item starting from this index (i.e. we will remove only the payload item itself).
Add the action to commit the removeFromFavorites mutation:
removeFromFavorites({ commit }, payload) {
  commit("removeFromFavorites", payload);
}
2
3
Now we need to dispatch this action when the user clicks the delete icon. Go to the Favorites.vue file. As you remember, first we should map actions to component methods. Import mapActions helper at the top of the <script> tag:
import { mapActions } from 'vuex';
and add it to the component methods under the computed block:
methods: {
  ...mapActions(["removeFromFavorites"])
}
2
3
And finally add the click listener to the delete icon:
<v-icon @click="removeFromFavorites(dog)">delete</v-icon>
Now you can add and remove dogs from your favorites list.
Whew! Chapter 4 is complete!
Final result
