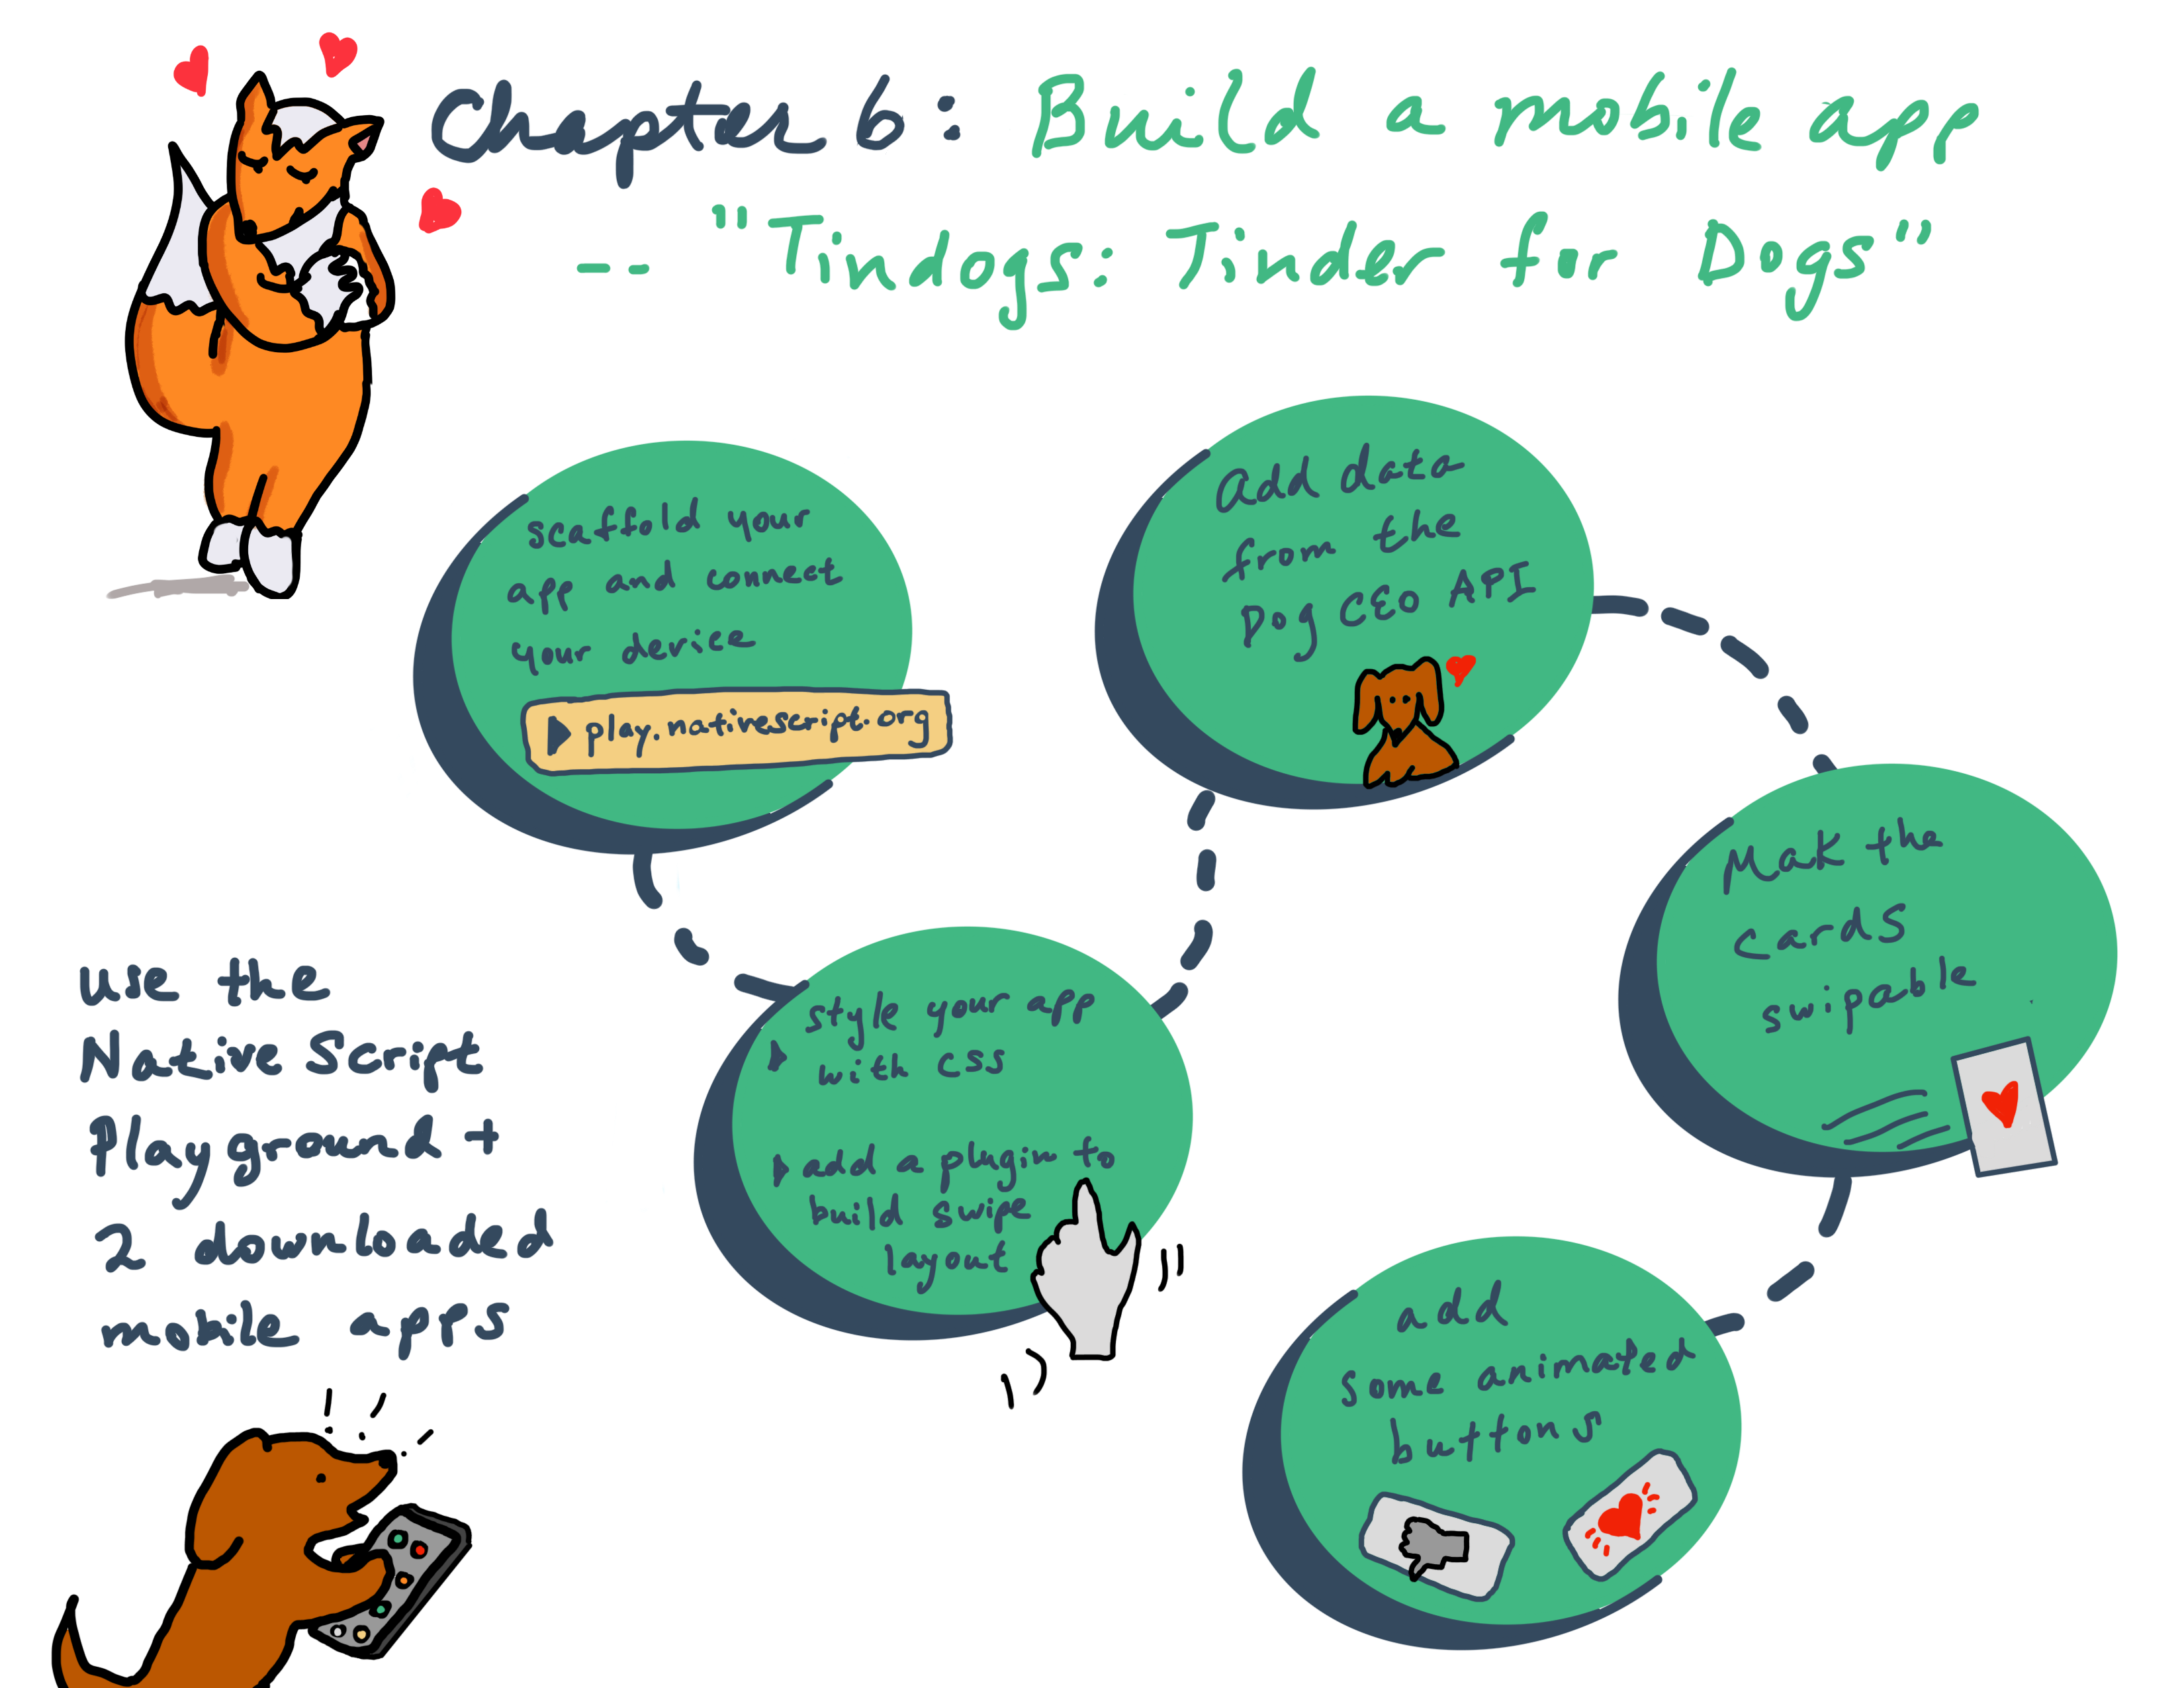
📱4: Build a Tinder-Style Mobile App: Tindogs!
| Project Goal | Build a card-swipe style mobile app with NativeScript and Vue |
|---|---|
| What you’ll learn | How to build native mobile cross-platform apps with Vue and NativeScript including managing layouts and plugins |
| Tools you’ll need | A modern browser like Chrome. Access to the NativeScript Playground - consider creating an account in the Playground to keep the versions of your work intact. A mobile phone (iOS or Android) with the NativeScript Playground and Preview apps installed. The two NativeScript companion apps for the playground are the NativeScript Viewer and NativeScript Playground. On Android: NativeScript Playground and NativeScript Preview. On iOS: NativeScript Playground and NativeScript Preview |
| Time needed to complete | 1 hour |
| Just want to try the app? | Open this link in the Playground App |
What You'll Build
Instructions
In this chapter, we're going to move from building a web app to create a pet adoption experience to building a mobile app for a variation on this theme. Using the Dog CEO API again, we're going to create "Tinder for Dogs" - "Tindogs" - where the user can load up a deck of 15 dog images at a time and swipe left and right to 'like' various dogs. All in good fun! Let's get started.
Scaffold a NativeScript-Vue App and Connect your Device
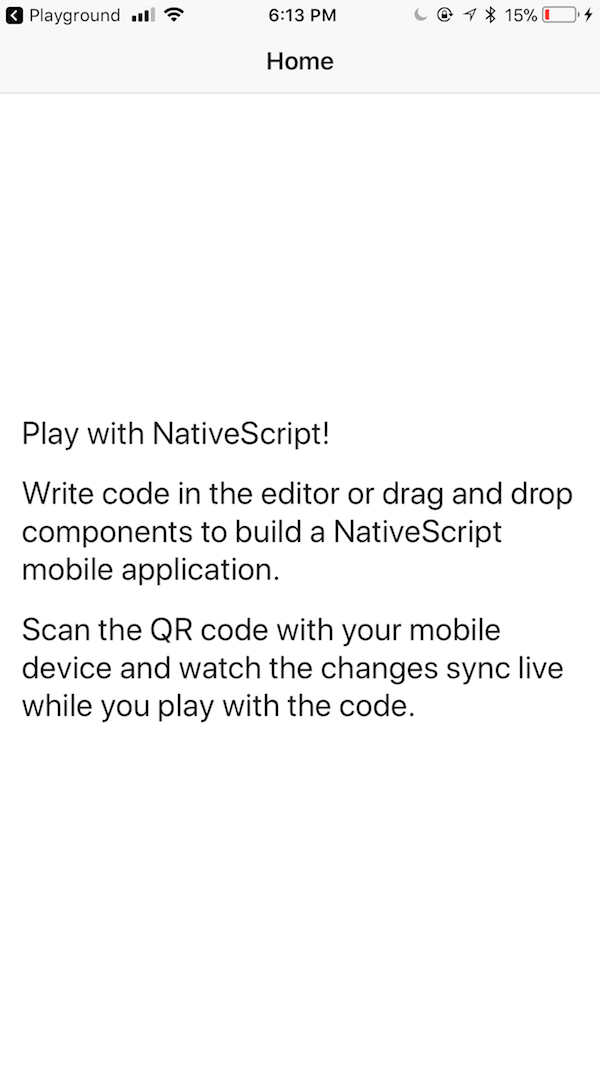
We're going to work in the NativeScript Playground to build this app. Open the NativeScript Playground and take a look around. On your first visit, you'll see several 'coach marks' showing where key functionality is kept.

Click 'Play Now' to open the main editor. You'll see a QR code appear - scan that with the NativeScript Play app. This allows your phone to refresh automatically as you code. Now you're ready to scaffold a NativeScript-Vue app!
By default, the first playground app is created using Angular. Click 'new' at the top and choose 'NS-Vue' as a template. You'll get another QR code, so scan that one. You'll see your phone refresh and a basic app appear:
Add some Styles
Now we're going to style the app's interface and build its UI. It's going to have an ActionBar, a title, two hidden buttons, and a stack of cards. Depending on whether you swipe right or left, those buttons will briefly appear and disappear.
Open the app.css file in the app root. Overwrite the file with these styles:
@import 'nativescript-theme-core/css/core.light.css';

.card {
	margin: 10;
	z-index: 0;
	border-radius: 5;
}

.action-bar {
	background-color: white;
	color: red;
}

.btn {
	z-index: 1;
	padding: 5;
	border-width: 5;
	border-radius: 5;
	background-color: white;
	text-align: center;
	font-size: 40px;
	opacity: 0;
}

.h1 {
	text-align: center;
	padding-top: 40;
}
.yes {
	color: green;
	border-color: green;
	transform: rotate(15deg);
}

.no {
	color: red;
	border-color: red;
	transform: rotate(-15deg);
}
2
3
4
5
6
7
8
9
10
11
12
13
14
15
16
17
18
19
20
21
22
23
24
25
26
27
28
29
30
31
32
33
34
35
36
37
38
39
Take a look at what's going on in this file. We are able to write CSS to style the various elements in our Android and iOS mobile apps, using a subset of standard CSS. Take note of the z-index and the opacity settings, which will allow us to layer elements vertically.
For the moment, the styling hasn't done much other than colorize the ActionBar. We need to prepare to build up the UI by adding a plugin.
Add a Plugin to Create a Card Layout
We're going to use a NativeScript Plugin to create a layout of stackable cards created from images fetched from the Dog CEO API.
💡
Find all kinds of cool verified and community-built plugins in the NativeScript Marketplace, along with code samples and templates.
Import a plugin into the playground by clicking on the small + button next to the title Explorer. In the modal, search for nativescript-swipe-layout and import the latest version of the plugin.

Next, we need to import the plugin so we can use it. In the app.js file, under the first line where Vue is imported, import the plugin:
Vue.registerElement('SwipeLayout', () => require('./nativescript-swipe-layout').SwipeLayout);
Vue.config.silent = false;
2
💡
It's useful for debugging purposes to set Vue.config.silent to false, and watch for errors in the Device Logs panel at the bottom of the Playground interface.
Add some Data
Let's query the Dog CEO API again to get 15 random images of dogs for the users to swipe. Open the HelloWorld.vue file and add a data object as a placeholder for our data arrays and to keep the swipeLayoutAnimated value ON_EVENTS. This latter value will force the user to only be able to swipe left or right (and not up or down) - because the plugin allows the developer to specify that the layout will only respond to swipe gestures that have a callback.
Replace the current data block:
data() {
    return {
      dogArray: [],
      dogs: [],
      swipeLayoutAnimated: 'ON_EVENTS'
    }
  },
2
3
4
5
6
7
Note, if you find code in the
<script>area of your file is unformatted, try typingcmd-Za few times to reformat the code.
Now we can get ready to call the API. First, import the http module right under the <script> tag:
const http = require("http");
Then, create a methods block. After the final comma of the data() {...}, block, add a call to the API:
methods: {
    getMultiDogs() {
      http.request({
        url: "https://dog.ceo/api/breeds/image/random/15", method: "GET"
      }).then((response) => {
        this.dogArray = JSON.parse(response.content);
        for (let i = 0; i < 15; i++) {
          this.dogs.push(this.dogArray.message[i])
        }
        console.log(JSON.stringify(this.dogs))
      }).catch( (e) => {
        alert("error")
      });
    }
   //handle the swipes here
  },
2
3
4
5
6
7
8
9
10
11
12
13
14
15
16
Take a look at this API call. We are asking the API for 15 random images, to ensure that we don't load up too many cards at once which would slow the app. We parse the response into an array, and then loop over it, creating an array of dog image urls. You should see them printed out in the Device Logs.
Next, call this getMultiDogs method when the app is created. Add this block right after the last comma in the methods: {}, block:
created() {
    this.getMultiDogs();
  },
2
3
💡
Careful, it's tempting to enclose this created() lifecycle hook inside the methods, but it actually must reside outside the methods block.
Finally, display the images in the UI. Replace the <ScrollView... tags in the template block with this markup:
<StackLayout>
<GridLayout rows="*" columns="*">
<SwipeLayout v-for="dog in dogs" :key="dog.id" row="0" col="0" :animationState="swipeLayoutAnimated">
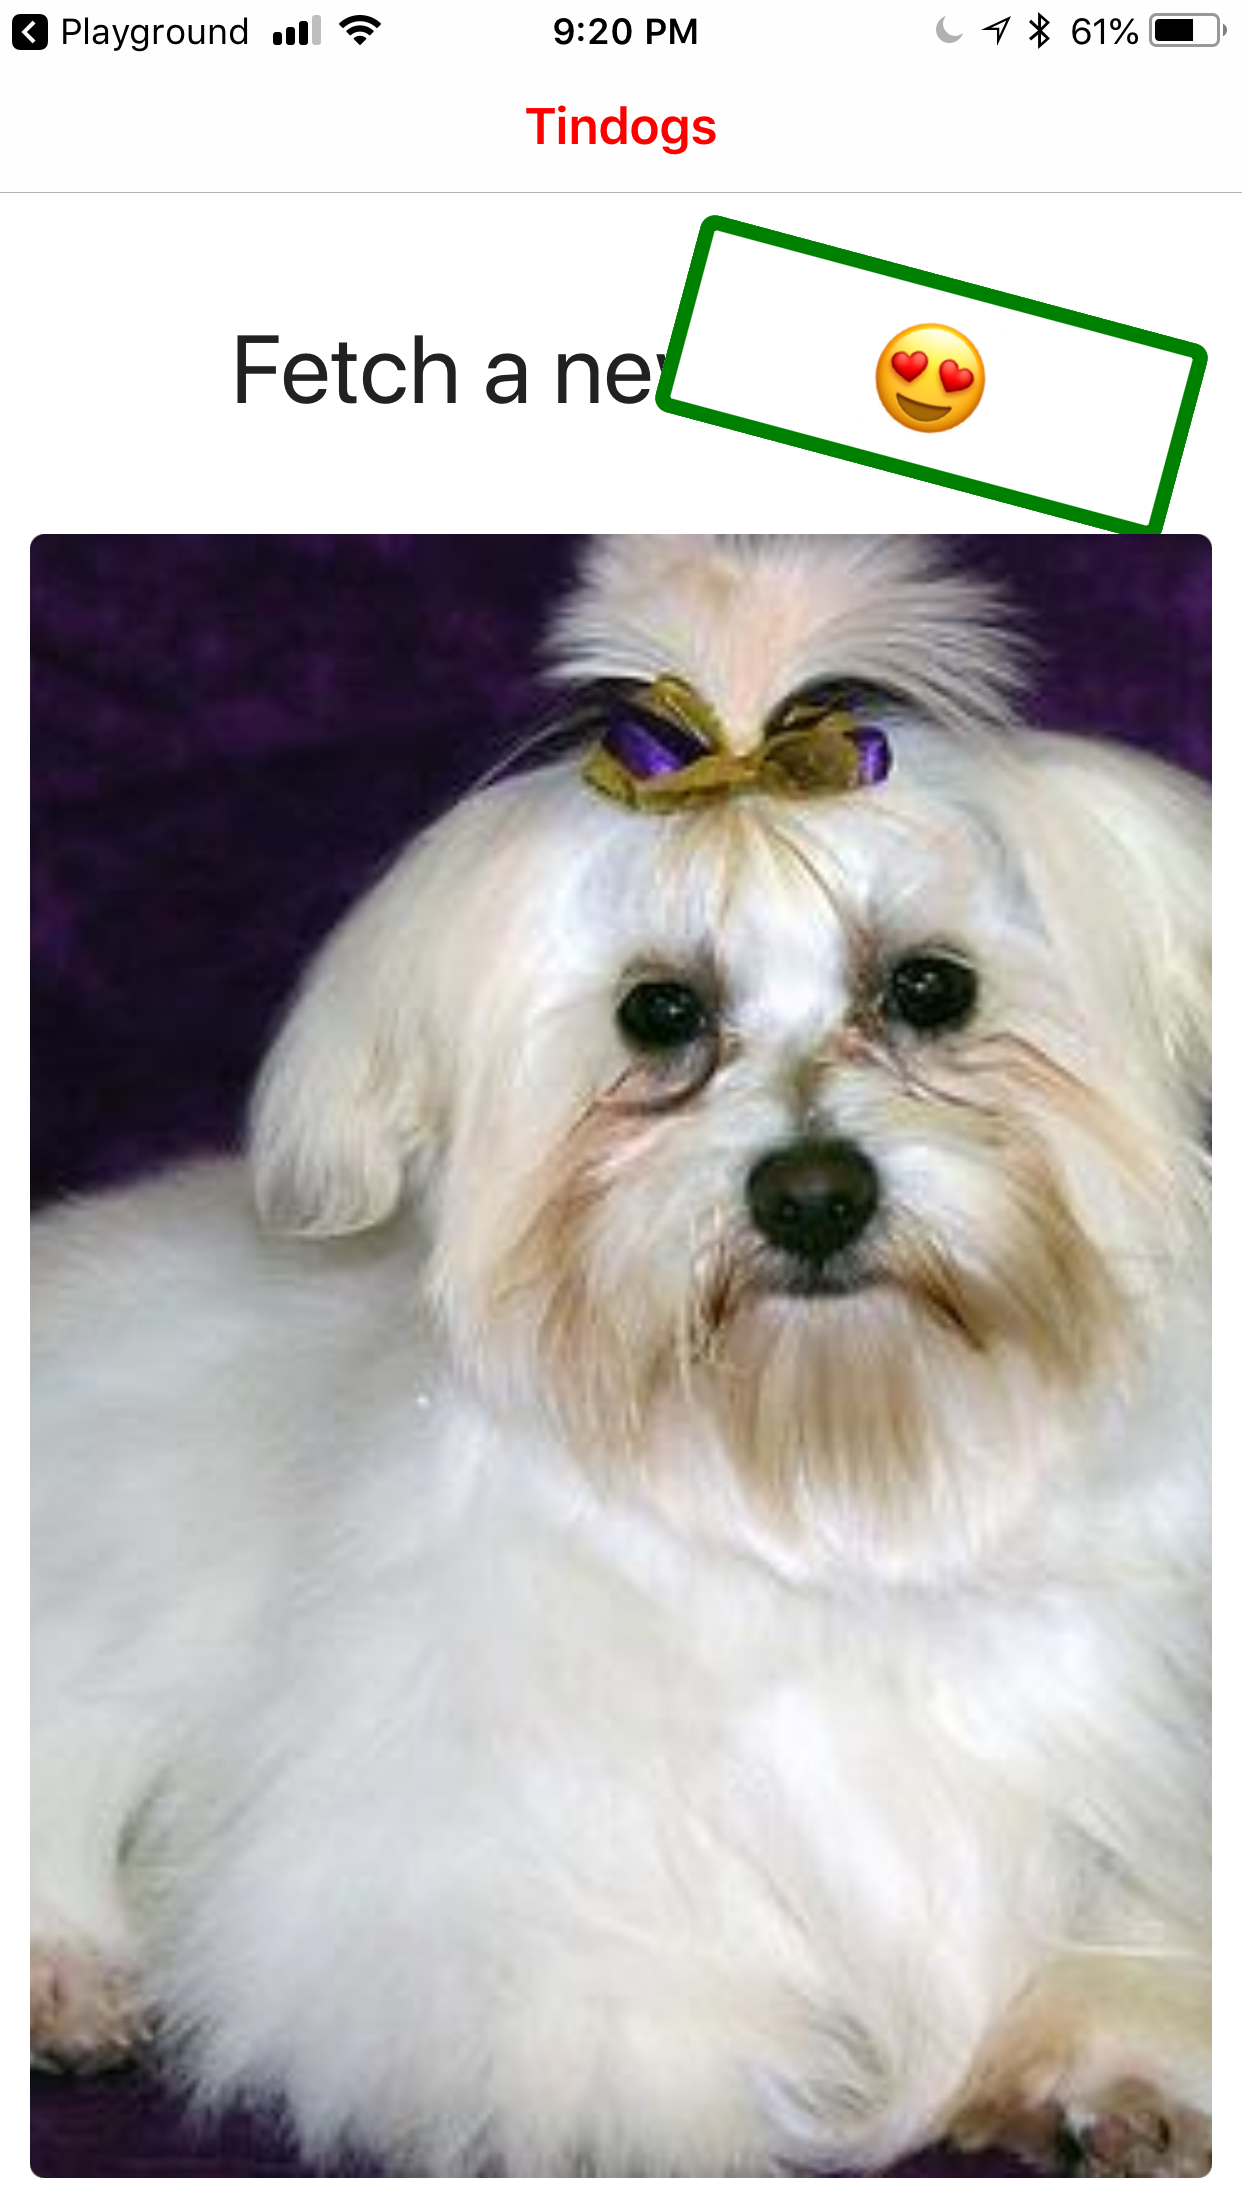
<image class="card" :src="dog" stretch="aspectFill"></image>
</SwipeLayout>
</GridLayout>
</StackLayout>
2
3
4
5
6
7
💡
The biggest difference between developing for web and mobile is the layouts. NativeScript layouts are designed to handle native mobile layouting, and don't have the type of DOM-building techniques familiar to web developers. Learn more about NativeScript layouting here
By this time, you should see a dog appearing in a card, but the card isn't swipable. Let's fix that.
Make the Cards Swipable
We need to add a few methods to manage the user's gestures, swiping right and left.
First, add two new methods in the methods block, adding a comma after the closing bracket of the getMultiDogs method:
next() {
   this.dogs.pop();
},
swipeRightCallback(e) {
   this.next();
},
swipeLeftCallback(e) {
   this.next();
}
2
3
4
5
6
7
8
9
Then, edit the <SwipeLayout markup so that the callback is invoked on swipe:
Change this line:
<SwipeLayout v-for="dog in dogs" :key="dog.id" row="0" col="0" :animationState="swipeLayoutAnimated">
To this:
<SwipeLayout v-for="dog in dogs" :key="dog.id" row="0" col="0" :animationState="swipeLayoutAnimated" @swipeLeft="swipeLeftCallback($event)" @swipeRight="swipeRightCallback($event)">.
For the moment, this edit will add a callback for left and right swiping gestures, removing elements from the dogs array as the user disposes of the card. The cards should swipe left and right by now.
What happens, though, when you swipe more than fifteen times? We can add a call to the next() method to call the API again for a new set of data, once the old is discarded. Edit next():
next() {
   this.dogs.pop();
   console.log(this.dogs.length);
   if (this.dogs.length == 0) {
      alert("Loading some more!");
      this.getMultiDogs();
   }
},
2
3
4
5
6
7
8
Try to swipe left and right. What happens when you get up to swipe number 15? Watch the Device Log to verify the length of your array.
Add Some Animated Buttons
Your app now loads 15 dogs, allows you to swipe left and right, and loads 15 more when the dogs array is empty.
Let's experiment with some NativeScript animations to make a red button flash on left swipe, and a green button on right swipe.
First, require the Animation module at the top, under the <script> tag:
const Animation = require('ui/animation');
Then, add a section at the top of the UI, under the opening <StackLayout tag:
<AbsoluteLayout>
	<GridLayout style="z-index:1" columns="*,*" width="100%" paddingTop="20">
		<label ref="no" col="0" text="🤔" class="btn no" />
		<label ref="yes" col="1" text="😍" class="btn yes" />
	</GridLayout>
	<label class="h1" width="100%" text="Fetch a new friend!" />
</AbsoluteLayout>
2
3
4
5
6
7
This markup presents a nice mix of layouts: AbsoluteLayout fixes the invisible buttons to the top of the app, overlaying the title. Inside the AbsoluteLayout tag there is a GridLayout with the buttons aligned horizontally.
Finally, replace the callback code with the following two methods. Note the use of the animation module to change the opacity of each button quickly from invisible to visible:
swipeRightCallback(e) {
      this.$refs.yes.nativeView.animate({ opacity: 1 })
        .then(() => {
          this.$refs.yes.nativeView.animate({ opacity: 0 })
            .then(() => {
              this.next();
            })
        })
    },
    swipeLeftCallback(e) {
      this.$refs.no.nativeView.animate({ opacity: 1 })
        .then(() => {
          this.$refs.no.nativeView.animate({ opacity: 0 })
            .then(() => {
              this.next();
            })
        })
    }
2
3
4
5
6
7
8
9
10
11
12
13
14
15
16
17
18
💡
Note the use of $refs, a reference to the element that needs to be animated within the nativeView. Identify which element is referenced by looking for its ref in the markup: ref="no". Refs function like a div's 'id' in web development.
Now, try swiping! You should see a red and green label briefly appearing as you swipe.
One final tweak is to change the ActionBar title! Give your app a name.
🎊Congratulations, you've finished your mobile app!🎊
Final result